How to Make Butter in 10 Minutes with a Kitchenaid Stand Mixer
Share

I don't know what in the prairie came over me this weekend but I decided I wanted to make my own butter. I have seen super expensive fancy handmade butter in the store but I just don't have the guts to spend $12 on a stick of butter but I also like to pretend I'm bougie and I wanted fancy butter to put on my bread.
You really don't need much to make butter just heavy whipping cream, ice water and some sort of mixer. There are some hand crank ones that you can buy online but impulsiveness does not allow for patience and I couldn't wait for a hand crank thing to ship here in a week. I HAD to do it right away so I used my Kitchen Aid stand mixer with the whip attachment on it.
The quality of the milk will make a huge a difference on the taste of the butter so if you can find a local dairy that makes heavy whipping cream that is best. I used this whipping cream from a local dairy (which if you have ever had their cream on top milk you know this milk is some real deal amazing stuff).
https://www.kalispellkreamery.com/our-products?pgid=jrtcmo3y-a7367126-2a69-4729-936c-15d9722f6348
When you're all done making butter you get buttermilk too which is a bonus because you can make biscuits or pancakes or whatever and then cover it in your homemade butter and there is literally nothing better. So if you have 10 minutes and a few tools you can make your own butter and be a culinary hero!
Tools and Ingredients
- Stand mixer with whipping attachment
- bowl
- ice water
- parchment paper
- heavy whipping cream (1 quart makes 1 pound of butter and 2 cups buttermilk)
- optional cotton towel to keep cream from splashing
- optional herbs, sea salt for flavoring

- Pour heavy whipping cream into stand mixer. You must use heavy whipping cream NOT half and half as the fat content isn't high enough to make butter with it.
- Drape a kitchen towel over the mixer to keep the splatters to a minimum and turn on the mixer to level 1. Every 30 seconds or so move up a level until you reach level 10. This will help keep the liquid mess down as well.
- Mix at level 10 for about 10 minutes or until you see the fat separate from the liquid. This is one of those time consuming things like watching water boil so be patient! It will go from liquid to whipped cream to thicker whipped cream, then to separate fat and buttermilk.
- Once the fat and milk have fully separated turn off the mixer. It will be very obvious that they have separated at this stage and it's sort of a magic moment!
- Use a spatula to press the butter to the side of the bowl and pour the buttermilk into a container to save for cooking.
- Get 2 cups of ice water and pour it over the butter and rinse it well. Use your hands or a spatula to knead the butter and get all the buttermilk out. This will help keep your butter fresh and maximize the taste so make sure to rinse until the water is clear.
- Put your butter onto parchment paper and add your optional herbs, spices or sea salt. I like to divide the butter into equal parts and do smaller batches of different flavors. Press the butter flat and sprinkle whatever herbs or spices you'd like. Add small amounts and try as you go so you don't add too much. Knead the spices or herbs into the butter with your hands to evenly distribute then shape back into whatever shape you like. If you're feeling extra you can get butter molds and make them into cute shapes too! Some yummy flavors I've tried include garlic powder, chopped fresh chives, sea salt, rosemary or old bay seasoning.
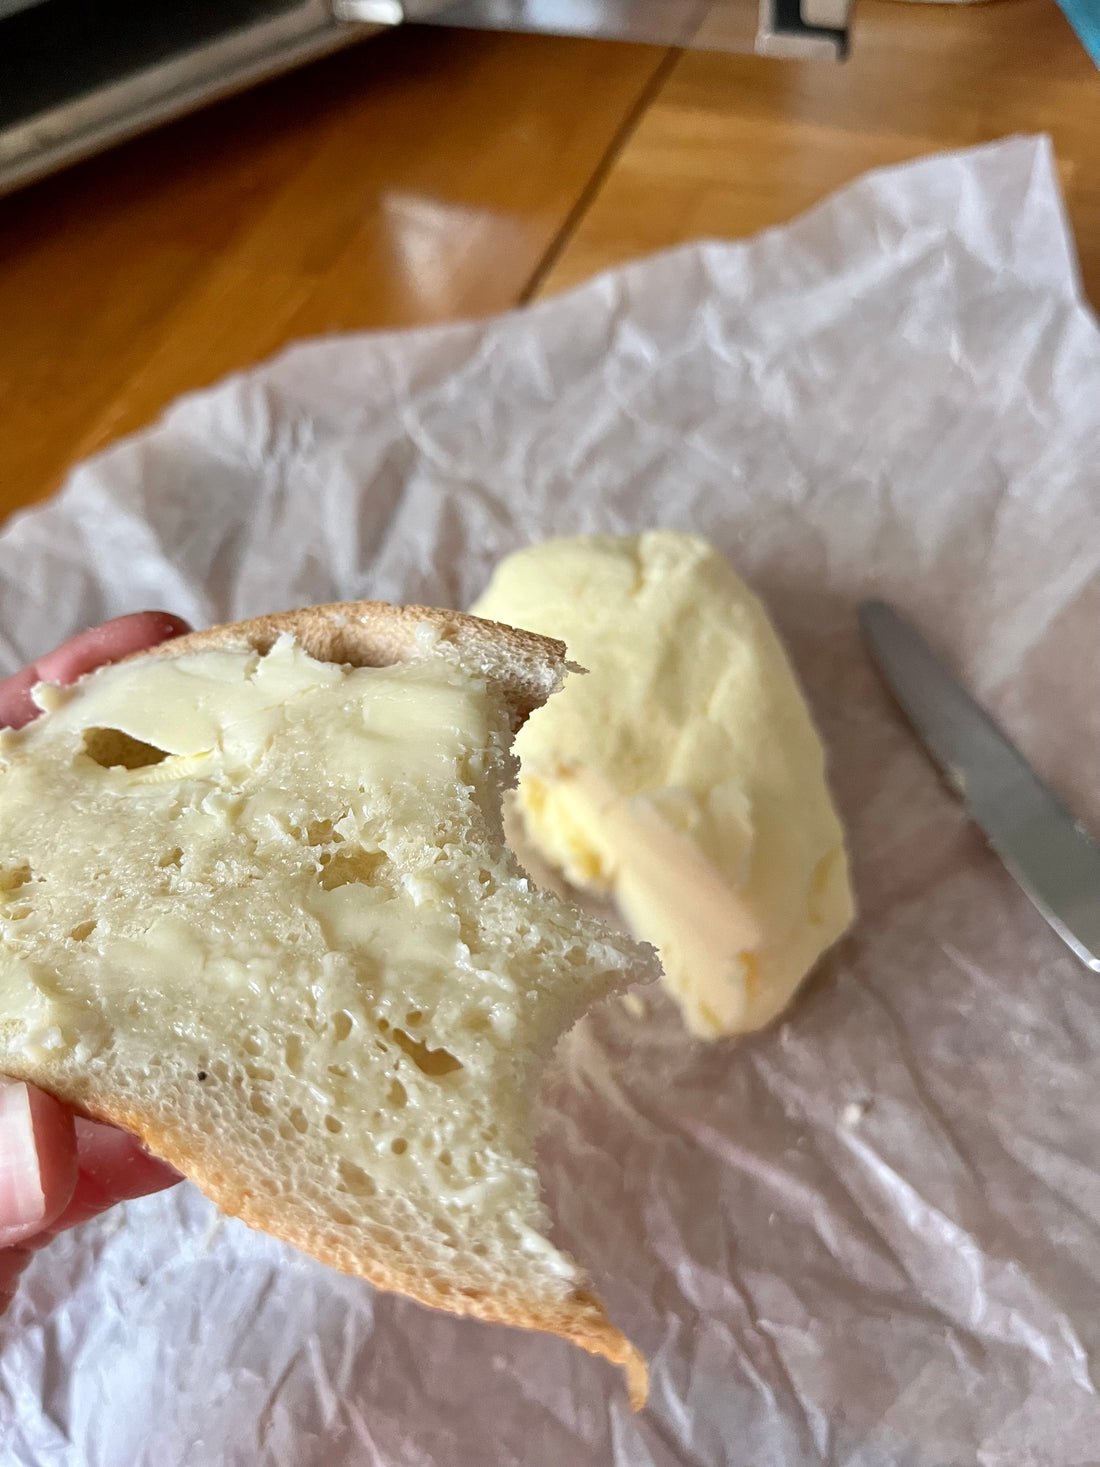
- Spread on some warm bread (or pancakes or biscuits from your buttermilk!) and enjoy!!


